All instructions, instruments for measuring, testing is used, instruments, test tools must be qualified and accredited through the period used in the period, such as ammeter, temperature and humidity, wind speed meter, voltmeter, weld inspection and feet, infrared thermometer, etc. and so on.
Procurement of steel pipe, flanges, welding, pipe fittings, valves and other pressure piping components constitute long-distance pipeline must be made of pressure piping components manufacturing license manufacturers of products, materials or consumables on the mark must be complete, clear, solid, quality certificate contents are complete and meet the standard requirements, quality certificate is strictly prohibited transcripts, generally should be stamped after the original or a copy of a valid copy of the distribution units of red hallmarks and managers chapter on the variety and quality certificate specifications, batch and other content should be consistent with the physical. After pressure piping components and auxiliary materials such as cathodic protection, corrosion mending Mending materials and other materials must be inspected by QC Engineers verified and signed by prospective views. We will verify the material is set to “stopping point” designed to control pressure piping components unproven, non-emergency release; by unqualified materials put into use is strictly prohibited. Material storage, storage, loading, transportation, etc. should ensure that material is not damaged.
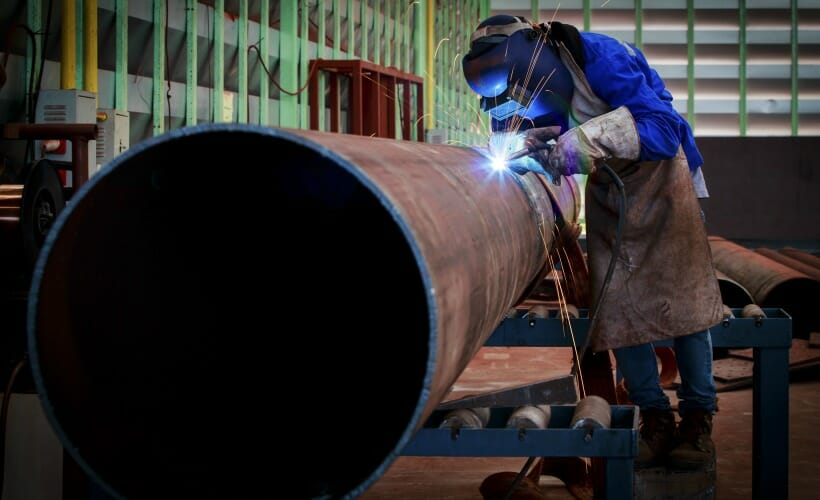
Foreman To nozzle group responsible for the quality, make sure the nozzle surface quality, groove dimensions counterpart gap, the wrong side of the volume control in the specified range. Additionally wrong side rework incomplete penetration defects are more difficult. Welding inspector should check before welding the weld groove surface conditions, bevel angle, blunt edge, set on clearance, the wrong side of the process should be consistent with the amount of data such as documents. After each weld, welder should be required to spatter, slag and visible defects, cleaned, after self-qualified, according to the provisions weld identify and make a record, post and spot welding inspector confirmed inspection. Welding inspector self-qualified welders to weld after visual inspection. Non-destructive testing of welds needed by welding inspector flaw in proportion to the provisions of the provisions of the appearance of welding conditions and welding inspection work instructions were commissioned by non-destructive testing, welding designated pending before the exploration of non-weld. Supervise the whole process of welding, check the implementation of welding processes, identify problems and timely treatment or feedback to the relevant personnel. Welding undercut must be given. Weld undercut will cause stress concentration, and become a source of fatigue cracks, so the pipeline early fatigue fracture failure. Measurement of visual depth of undercut can only be carried out empirically by test persons, in respect to the inner depth of the undercut, by X-ray transillumination method for measurement. Determination of the depth of undercut, there is some error. Steel pipe weld undercut, should be possible welding, grinding, weld and base metal smooth transition , eliminating undercut adverse effect on the properties of welded joints.


